To use Aveneer you have to install the application and configure it accordingly. Below is the generalized flow of the process and a more detailed description.

1. Install Aveneer – Install the Aveneer package in your Salesforce organization using the Aveneer URL containing the latest version of the application.
IMPORTANT: Before executing the next step please make sure that the following two settings are turned on (set to True):
- Deploy Metadata from Non-Certified Package Versions via Apex in Setup/Apex Settings
- Use Lightning Web Security for Lightning web components and Aura components in Setup/Session Settings.
Otherwise you might experience issues when trying to authorize your Org with our server and when generally using Aveneer.
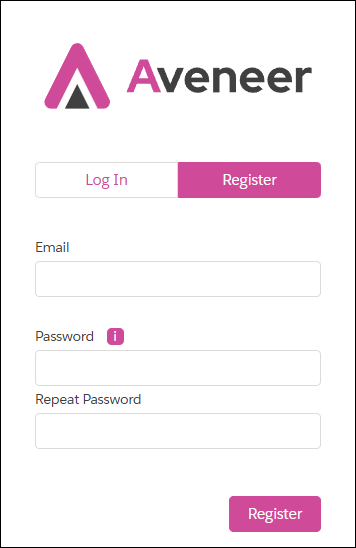
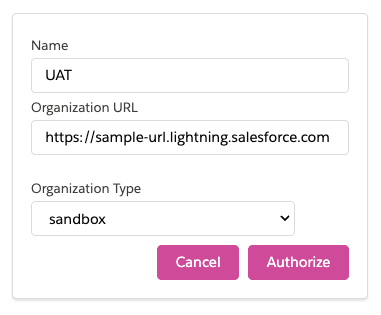
2. Authorize ORG – Once the package is installed, the person responsible for the organization will have to go to https://api.aveneer.forvendi.com/ page, open the Register tab and create a new Aveneer User Account. Then, using the new account, the next step is to add the new organization and log in with the integration user’s credentials. It is recommended to use a user account created specifically for that purpose.

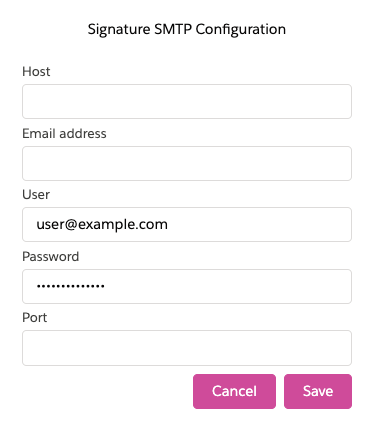
3. Configure custom email account (optional) – If you want to use your own email account for sending emails from the application, you need to provide the SMTP connection details for your mailbox.
The configuration requires the following information:
- Email Address – the email address that will be used as the sender.
- SMTP Host – the hostname or address of your SMTP server.
- Username – the username used to authenticate with the email server.
- Password – the password for the email account.
- SMTP Port – the port used to establish the SMTP connection.
The SMTP server must be accessible to the application so that it can establish a connection and send emails through your mail server.
Please make sure that the provided SMTP credentials are valid and that the SMTP server allows inbound connections from the application.
DKIM (DomainKeys Identified Mail) can also be configured for your email domain to authenticate outgoing emails and improve email deliverability. To configure DKIM, you will need to have access to the DNS settings of the email-sending domain, as a DKIM record needs to be added to the domain’s DNS configuration.
If you would like to enable DKIM, please contact our team. We will provide the required DKIM configuration details and instructions for adding the necessary DNS record.
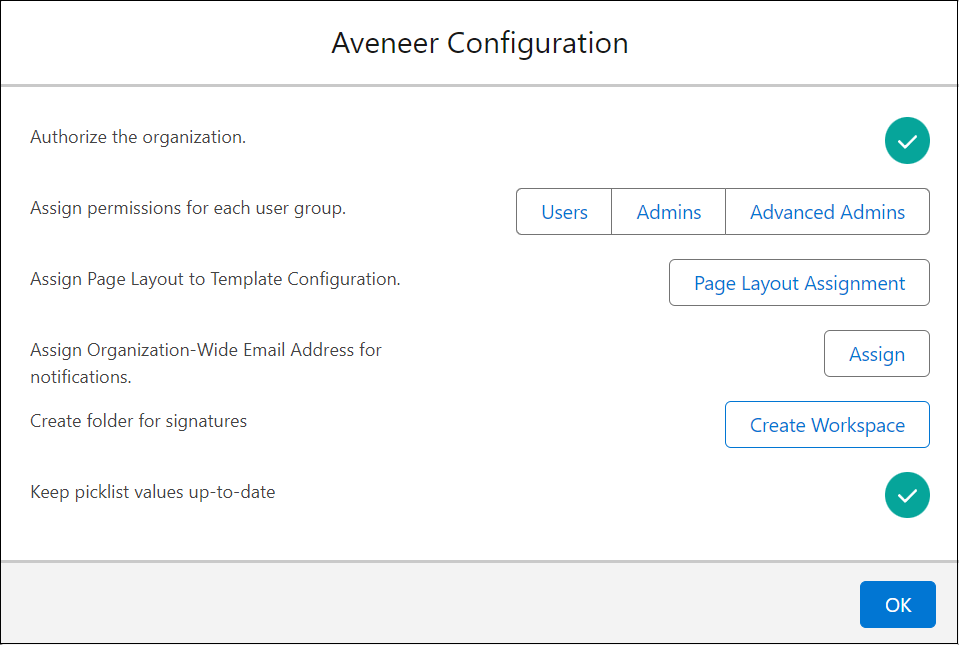
4. Configure button – After the organization is authorized, the System Administrator (with AVENEER Generator Advanced Admin permission set) has to open the Aveneer app’s Home page and click the Configure button. An Aveneer Configuration modal will pop up that will allow the Administrator to finalize the configuration process:
- Authorize the organization – if the authorization was completed, a green icon will appear. If the red icon is displayed instead, it might be necessary to complete two additional steps:
- Adding the integration user’s ID into the Aveneer Rest API User Id field (Setup -> Custom Metadata Types -> Aveneer Configuration).
- Adding the https://api.aveneer.forvendi.com address to the Remote Site Setting section of the organization setup.
- Assign permissions for each user group – provides quick access to Aveneer permission sets.
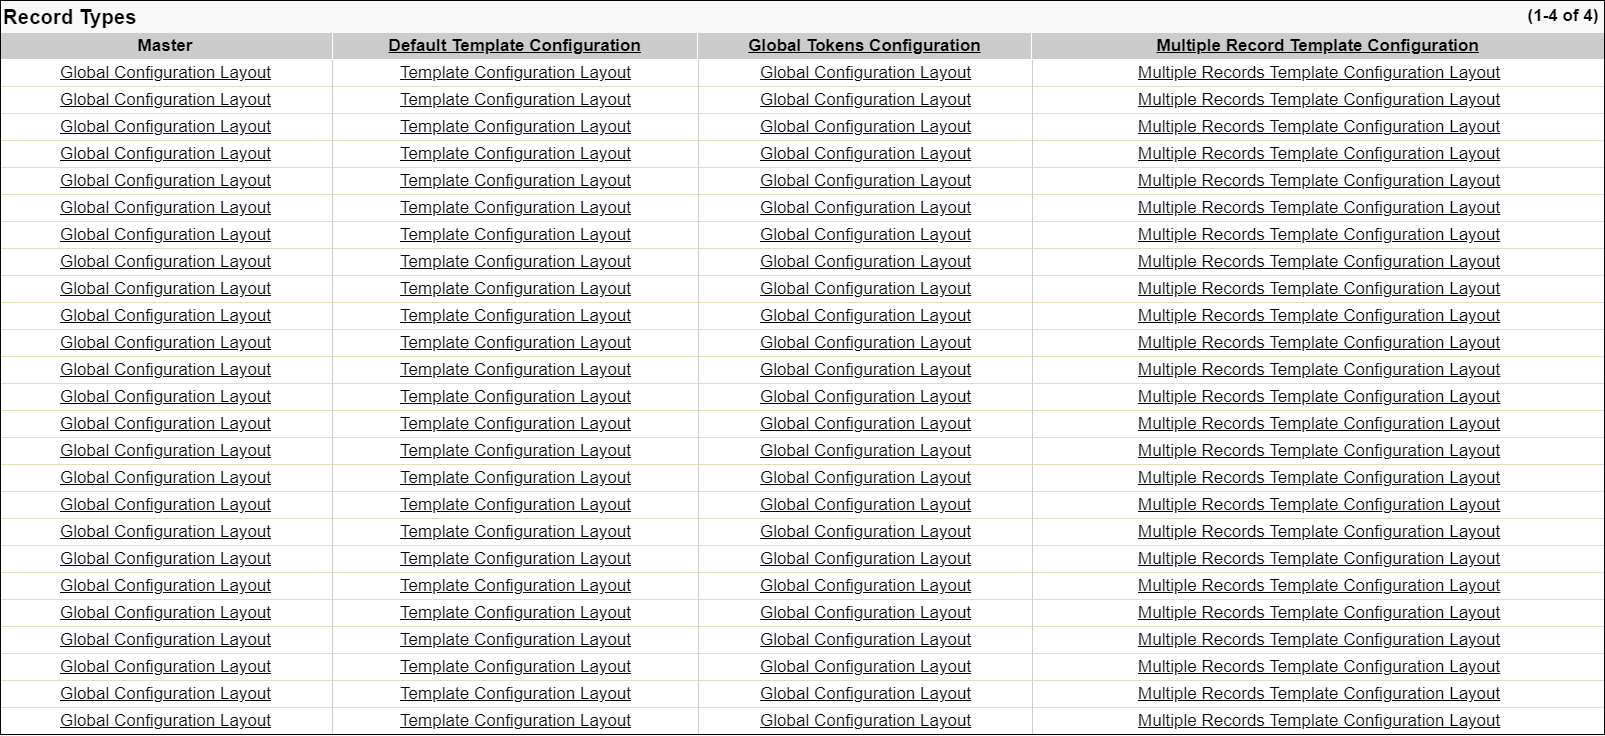
- Assign Page Layout to Template Configuration – redirects to the Page Layout section of the Template Configuration Object Manager setup page. Here the Administrator has to manually assign correct page layouts to specific record types:
- Global Tokens Configuration – Global Configuration layout
- Template Configuration – Template Configuration layout
- Multiple Record Template Configuration – Multiple Record Template Configuration layout
- Assign Organization-Wide Email Address for notifications – redirects to the Aveneer Configuration section where the Administrator can insert the Id of the Org-Wide email address that will be used for custom Aveneer Email Notifications.
- Create folder for signatures – extends the sharing settings of the folder where Aveneer Signatures are stored. A necessary step whenever a User is granted access to Aveneer and is required to create a signature.
- Keep picklist values up-to-date – helps to keep the Aveneer picklists updated if new values were added between releases.