
These tokens must be defined in docx templates and later mapped to correct Salesforce data. Any change in tokens’ mapping to Salesforce data, after a template with such tokens has already been uploaded to a Template Configuration record, affects only this particular Template Configuration. There are following subtypes of tokens:
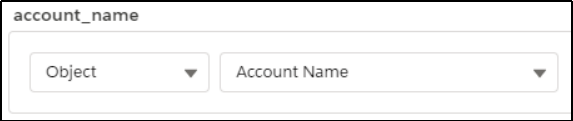
- Value Token – the name of the token is set in {{tokenName}} format. It should be noted that if such token contains the API name of a field, then later on, after the docx template is uploaded into the Template Configuration record, that token will be automatically mapped to the correct object’s field. Otherwise, it will require manual mapping.

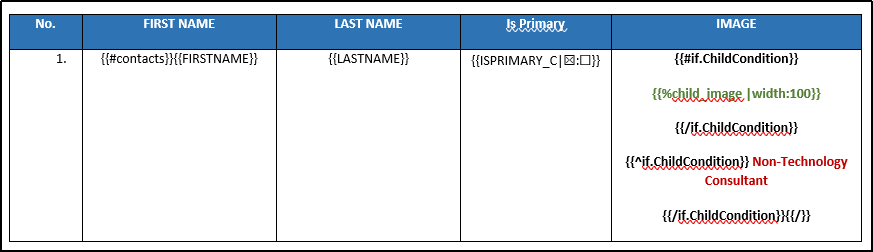
- Table Token – A Table Token is used to display data retrieved from selected child object’s records.

A Table Token should always start with {{#childObject}} and end with {{/}}. Within the table, User can insert tokens pulling data from selected child object’s fields.
Table Token within the docx template can be configured in many ways, for instance as a bullet list or as a physical table. Each record of the child object related to the main object will become an individual row within the table. It is possible to utilize Condition Tokens (based on checkbox type field) & Image Tokens within the Table Token. However, it should be noted that Global Tokens are not supported within the Table Token.
Users have the possibility to wrap the Table Token in additional, dedicated conditional token that will hide the entire table if it doesn’t contain any child records.
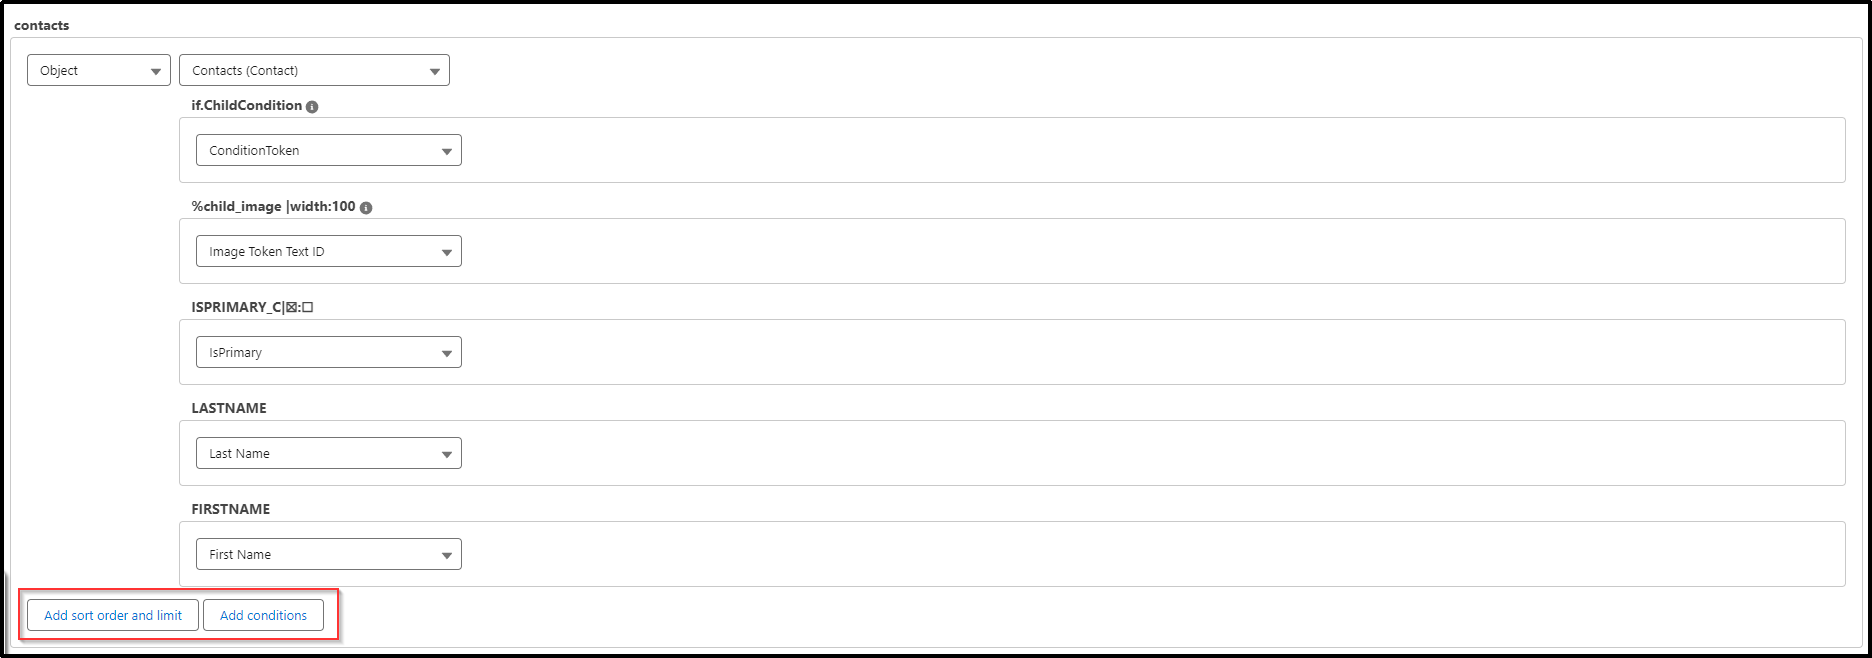
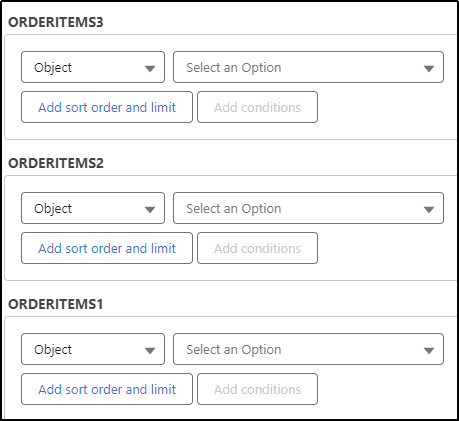
Table Token has its own sub-section within the Configuration section of the Template Configuration record.
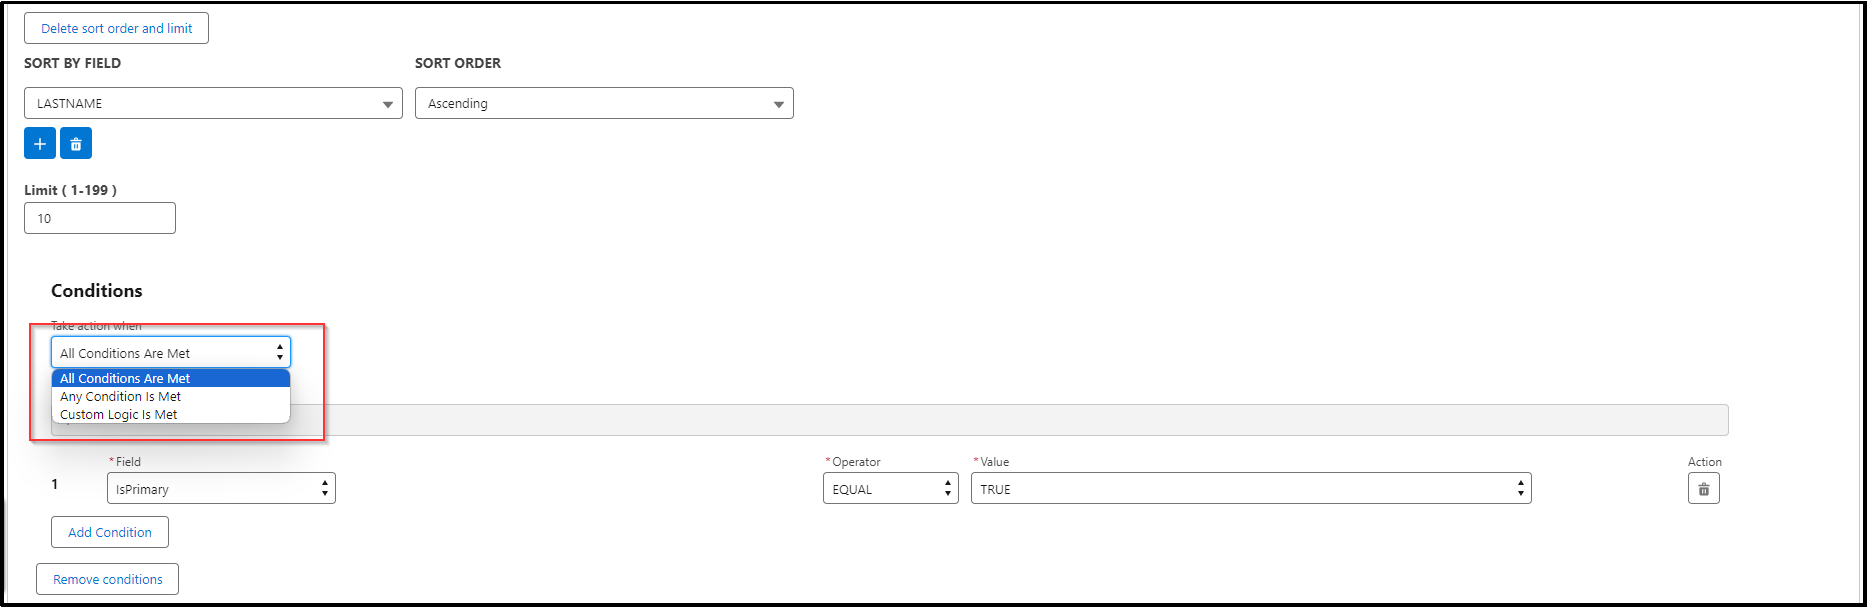
Aveneer offers the possibility to add sort order and limit the number of child records displayed within a table, from the UI level. It also allows Users to add conditions that have to be met in order for child records to be included in the table. Users can add up to 25 conditions combined with 3 different types of logic: All Conditions are Met, Any Condition is Met & Custom Logic is Met.
Aveneer supports multiple child tables within one DOCX template. In such a case, each child table from the template would require manual mapping.
- Image Token – allows inserting an image into a document. It can be formatted in several ways:
{{%imagetoken}} – an image will be generated with its original dimensions.
{{%imagetoken | 300×300}} – an image will be generated with defined dimensions, height vs width.
{{%imagetoken | size:300:300}} – an image will be generated with defined dimensions, height vs width.
{{%imagetoken | width:300}} – an image will be generated with defined width. Height will be adjusted automatically with the preserved aspect ratio of the picture.
{{%imagetoken | height:300}} – an image will be generated with defined height. Width will be adjusted automatically with the preserved aspect ratio of the picture.
{{%imagetoken | maxWidth:300,maxHeight:300}} OR {{%imagetoken | maxHeight:300,maxWidth:300}} – dimensions of the generated image will not exceed defined values. The ratio between those two will be calculated automatically.
After inserting the image token into the docx template, you have to map it to an appropriate image under the Configuration section of a Template Configuration record. It is recommended to use the following approach:
- Add the image into the Notes & Attachments related list of a record used for document generation. Copy the ID of the image’s Content Version and insert it into a text field on that record. Next map the image token to that text field.
It is possible to add an image into the Files object and use its Content Version ID for generation instead of adding the same image into the Notes & Attachments related list of every record used for document generation. However, the integration user should have Query All Files permission assigned.
Using Image Tokens can also be achieved in following ways:
- URL – In Remote Site Settings setup section, add the domain hosting the image. Then map the token:
- with the Object method to a field containing image’s URL or
- with the Text method and the image’s URL.
- Add the image into Notes & Attachments related list of a record used for document generation and map the image token with the Text method containing the exact name of the uploaded image.
- Add the image into Notes & Attachments related list of a record used for document generation. Next insert the exact name of the image into a text field in that record and map the image token to that text field.
It should be noted that images in base64 are not supported.
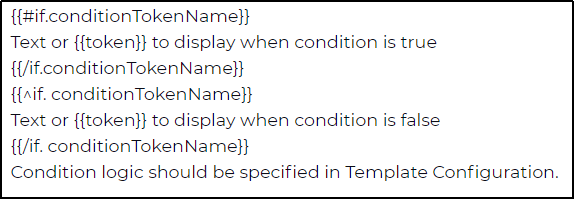
- Condition Token – a token in the form of a text, dependent on the defined condition logic utilizing {{if / else}} format. Condition logic should be defined in a Template Configuration record under the Configuration section.
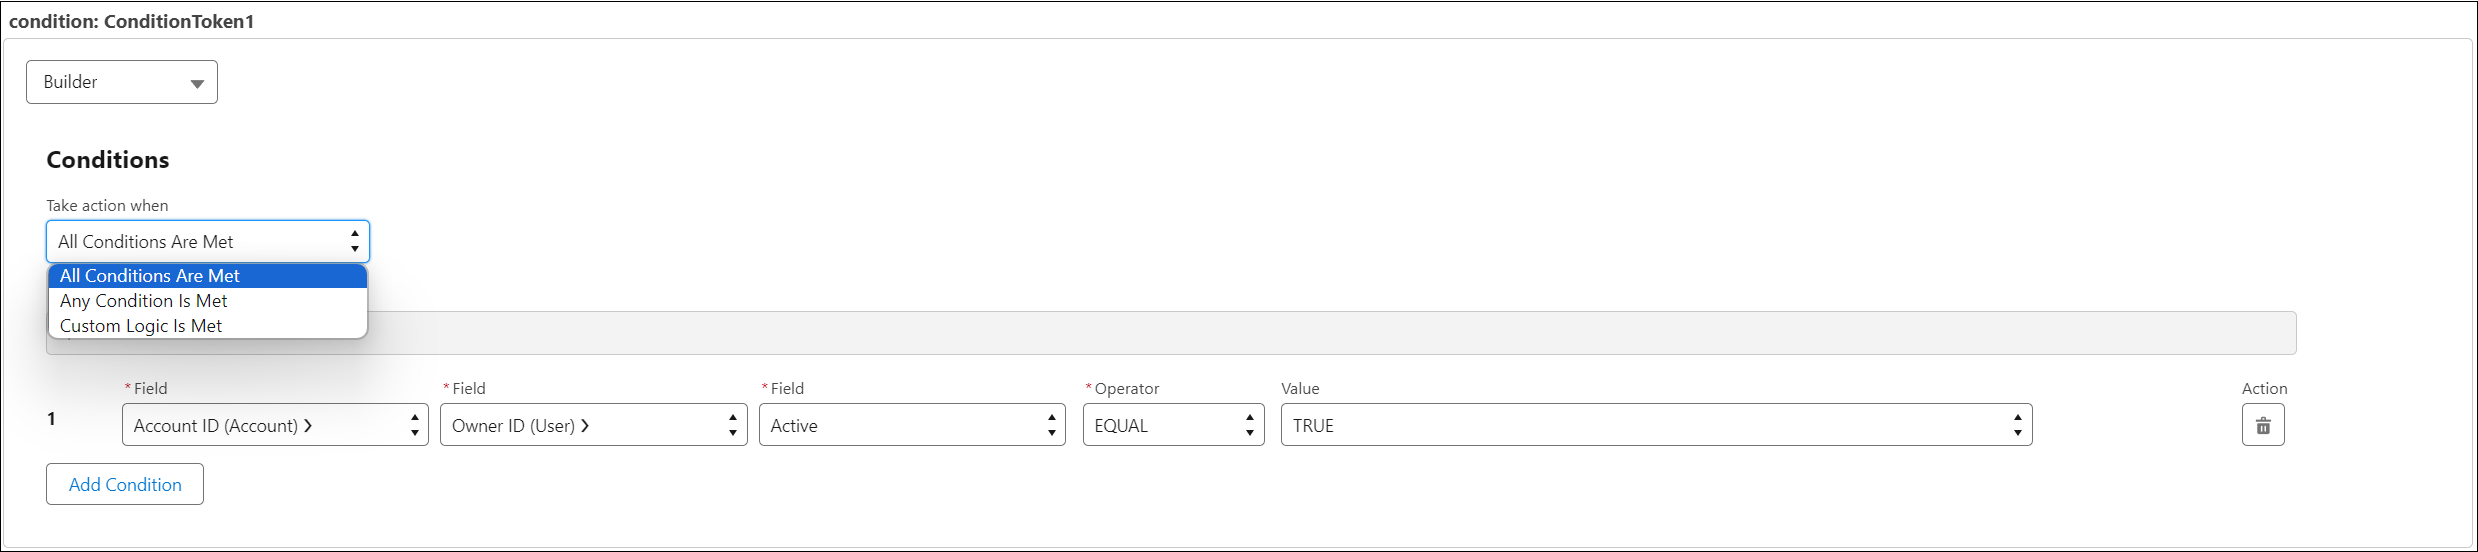
Condition Builder, where Users can define the conditions, supports up to 25 conditions combined with 3 types of logic (All Conditions are Met, Any Condition is Met & Custom Logic is Met). It can also base the conditions on fields 2 relations deep.
Alternatively, if Users want the value of the token to only appear if the token has any value, following format should be applied:
{{#TOKEN}} TokenName: {{/TOKEN}}{{TOKEN}}
Condition Tokens can be used not only to display certain values, but also to hide entire rows and sections of templates. It also supports 1 level of nested Condition Tokens (Condition Token within Condition Token).
- Standard System Token – Standard System Token is automatically replaced with Salesforce data. It doesn’t require manual mapping and is not displayed in the Configuration section of a Template Configuration record.
- {{c.TODAY}} – replace the token with today’s date. Additional formatting can be applied to enforce specific date format (detailed instructions can be found under the description of the Date Token).
- {{c.DD}} – replace the token with current day in 01-31 format.
- {{c.MM}} – replace the token with current month in 01-12 format.
- {{c.YYYY}} – replace the token with the current year.
- {{c.NOW}} – replace the token with the exact date & time of the document generation.
- {{c.TIME}} – replace the token with the exact time of the document generation.
- {{c.HOUR}} – replace the token with the exact hour of the document generation.
- {{c.MINUTES}} – replace the token with the exact minutes of the document generation.
- {{c.SECONDS}} – replace the token with the exact seconds of the document generation.
- Boolean token (checkbox) – can be formatted in the following way:
{{TOKENNAME|valueForTrue:valueForFalse}}, for example: {{TOKEN_NAME|Yes:No}}.
- HTML Tokens – using HTML Tokens allows to retain any additional formatting applied to Rich Text Fields. HTML Tokens are structured as follows: {{~~TOKEN_NAME}}. If instead of retaining additional formatting Users would rather have it removed, a separate tag should be added to the token’s name – see Text Area (Rich) below.
- Text Area (Rich) – Aveneer Tokens mapped to Text Area (Rich) fields require additional formatting in order to retain the coherent structure of its value. However, it should be noted that any text formatting like font and color will be adjusted to the formatting of the Aveneer Token within the uploaded docx template. Images inserted into Text Area (Rich) will not be included in the generated documents. Example of the token: {{TOKEN_NAME | replace-html}}.
- NumberToken – you can decide the way fractions are displayed by including additional formatting in the token value. The following formats are supported:
- {{NumberToken1|0 000,00}} – space separator for thousands, 2 decimal places
- {{NumberToken2|0.000,00}} – dot separator for thousands, 2 decimal places
- {{NumberToken3|0,000.00}} – comma separator for thousands, 2 decimal places
- {{NumberToken4|0,000}} – no separator for thousands, 3 decimal places
- {{NumberToken5|0.000,}} – dot separator for thousands, no decimal places
- {{NumberToken6|0,00}} – no separator for thousands, 2 decimal places
- {{NumberToken7|0.00}} – no separator for thousands, 2 decimal places
- Date Token – you can decide the way dates are displayed by adding additional formatting to the token value. Any valid DateTime format compatible with Java Datetime Format is supported. Examples of formatting are listed below list.
{{dateToken|dd.MM.yyyy}}-> 31.12.2021{{dateToken|MM.dd.yyyy}}-> 12.31.2021{{dateToken|yyyy.MM.dd}}-> 2021.12.31{{dateToken|yyyy.dd.MM}}-> 2021.31.12{{dateToken|dd/MM/yyyy}}-> 31/12/2021{{dateToken|MM/dd/yyyy}}-> 12/31/2021{{dateToken|yyyy/MM/dd}}-> 2021/12/31{{dateToken|yyyy/dd/MM}}-> 2021/31/12{{dateToken|dd-MM-yyyy hh:mm}}-> 31-12-2021 21:37{{dateToken|dd MMMM yyyy}}-> 31 December 2021{{dateToken|dd MMM yyyy}}-> 31 Dec 2021
- Function Tokens – function tokens work in a similar way to roll-up fields – they execute calculations on selected fields of a child object and its records. They have the following format:

1 – Child Object utilized in the docx template (it has to be present in the template).
2 – Function.
3 – Field of the Child Object that is to be used for calculations.
4 – Additional (optional) formatting.
Currently Function Tokens support 3 types of fields – Number, Currency & Percent – and 3 types of calculations:
- sumby – displays total value of all fields.
- max – displays the highest value.
- min – displays the lowest value.
- mean – displays the mean value.
- discount: XX% – deducts the defined % discount from the value.
An example of Function Tokens utilization based on the QuoteLineItems table:

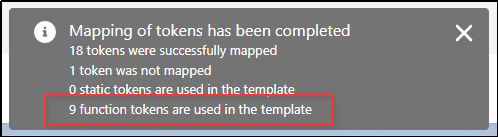
Users should keep in mind that Function Tokens are not mapped to any of the fields (they do not require mapping) and therefore are not present under the Configuration section of the Template Configuration record. However, once a docx template with function tokens is uploaded, Users are informed how many of those tokens are actually utilized within the template:
- Signature Tokens – with the release of the Aveneer Signature module, new Signature Tokens were introduced:
- {{sign1.signingParty1}} – main signature token allocated to a specific signing party.
- {{sign1.DATE}} – signature date token allowing a specific signing party to define the date of the signature.
- {{manualToken}} – manual token allowing a specific signing party to dynamically insert value during the signature process.
Signature Tokens are described in depth in chapter Creating Signatures.